Adding GIT to your existing hosted website
This tutorial is useful for anyone wanting to make a local clone of their website, git allows to manage version control and push any changes to the origin with very less effort.
This is my experience of how I added git to my website hosted on hostgator.
I have used hostgator, but this will work with any hosting site like bluehost, ipage, etc.
1. SSH your hosting
SSH or Secure Shell is a way to remote login and access, you should study some basics about this; Nowadays hostgator provides everyone with SSH access, but if your hosting provider doesn’t, you should ask for it.
To login, fire up your terminal (or any GUI like PuTTy), and login with your credentials on port 2222
    $ ssh username@your-domain.com -p 2222
    $ Enter you password:
Once you are logged in you can easily list all you directories with ls.
2. Automate your login
Though SSH can provide you access by typing your username+domain name then your password, there is a way to skip one step. Introducing public-key! , you might have read. This works on pair, public key & private key; you have to upload your private key to the server and then configure SSH to use your public key, then each time the SSH directly logs you in to the server from your local computer.
To do this, we would need to –
- Generate your public key
- Upload it to your hosting server (I’ll refer it as hostgator)
If you have already generated it in the past, it will be in ~/.ssh/id_rsa.pub
If you don’t have these files, run
$ ssh-keygen -t rsa
you can skip the passcode, and then upload this key to hostgator and also giving it execute permission by
 $ scp -p 2222 ~/.ssh/id_rsa.pub username@your-domain.com:~/.ssh/authorized_keys
 $ ssh -p 2222 user-name@your-domain.com 'chmod 600 ~/.ssh/authorized_keys'
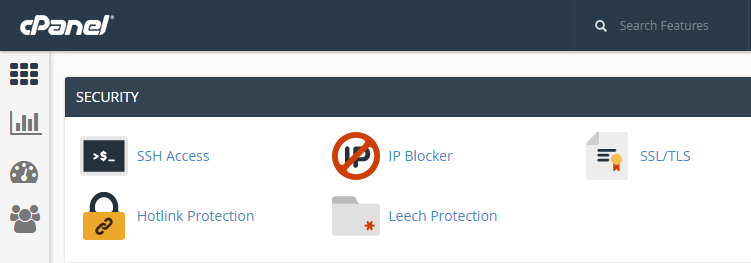
if this terminal method doesn’t work for you, you can directly upload your keys with cpanel, under security section.
If ~/.ssh/authorized_keys does not exist on hostgator, then create it by running the command below.
$ touch ~/.ssh/authorized_keys
3. Config SSH locally
To do this, you just need to create a config file in ~/.ssh/ directory, and add the following details
Host your-domain-name.com

Port 22

PreferredAuthentications publickey
This will configure the ssh to use the said port(22) and preferred authentication method whenever then mentioned domain name is ssh, you can login to your hostgator account just by
$ ssh username@your-domain-name.com
It is recommended to use port 2222, I have experienced only port 22 works for publickey access, but you should try both.
4. Initialize your remote repository
If you have an existing website which you would like to have git on, login to hostgator, open your directory, initialize git, add everything and commit
  $ ssh username@your-domain-name.com
  $ cd ~/public-html/<em>your-website-repository</em>
  $ git init
  $ git add .
  $ git commit -m 'Initialized repository'
  $ git config receive.denyCurrentBranch ignore
That last line is to configure your repository to accept remote changes.
You can also add a new repository if you would not like to git your existing project. Just make a directory and initialize it.
While still logged into the server, run the following command to refresh the repository after the push has been accepted.
  $ cd .git/hooks/
  $ touch post-receive
  $ vi post-receive
Then add the following to the post_receive file. Press I to go into INSERT mode, add the below text to the file, then press esc then :wq to save and quit.
 #!/bin/sh
 GIT_WORK_TREE=../ git checkout -f
Also, to make this file executable, run this command
$ chmod +x ~/public_html/<em>your-website-repository</em>/.git/hooks/post-receive
And now you can log off from your server.
5. Create your local repository
Navigate to your project and setup git if you haven’t already.
 $ cd ~/PATH_TO_PROJECT
 $ git init
 $ git remote add origin user-name@your-domain.com:public_html/project-name
Now you would want to clone your original project from your server, so run
$ git pull origin master
Your website will be available to you locally, and any changes you made can then be pushed to the server with
$ git push -u origin master
Do remember to add untrack files and commit changes.
Hope this was useful to you, feel free to comment down any issues faced by you, I’ll be happy to help.